
On the cutting edge of quality – avoiding burrs
Posted by Hoffmann Group USA on 23rd Apr 2024
On the cutting edge of quality – avoiding burrs
Whenever you’re machining metals, polymers or stoneware, you’ll be first in line to see the cutting edge forming burrs. The principle mode of action in machining displaces material, thus forcing up unsightly and hazardous ridges along the edges of the workpiece. Burrs pose a tremendous risk of injury for yourself and your team.
Burrs – a whole field of research in itself
Burr formation can seem complex, but understanding the mechanisms behind it can be highly beneficial. To help you get started, we've compiled the key information for easy reference.
● Burrs divide into primary and secondary burrs depending on the tool used. The former protrude at right angles to the surface and form mainly when punching or drilling.
● Secondary burrs, however, are parallel to the surface and form from planing, finish grinding, shearing, turning or milling.
● Width of the blade gap: cutting tools with a normal blade gap at the contact point with the cut part always produce a cut-off burr. The thicker your workpiece, the more prominent the burr. Tensile strength has the opposite effect: if it’s low, the burr is also smaller.
● In contrast to cut-off burrs, tear burrs are inevitable whenever the blade gap is significantly wide. This width prevents the cracks formed on the top and bottom of the material from converging. As a result, the material tears downward, leaving behind a particularly strong and jagged burr.
● Conversely, an excessively narrow blade gap can lead to tensile burrs. In this scenario, the material remains uncut as the opposing cracks fail to meet. This results in a thin, yet tall burr due to the stretched and unsevered material.
● Bending produces rollover burrs, caused by the material bending around a punch.

Deburring – often the finishing touch
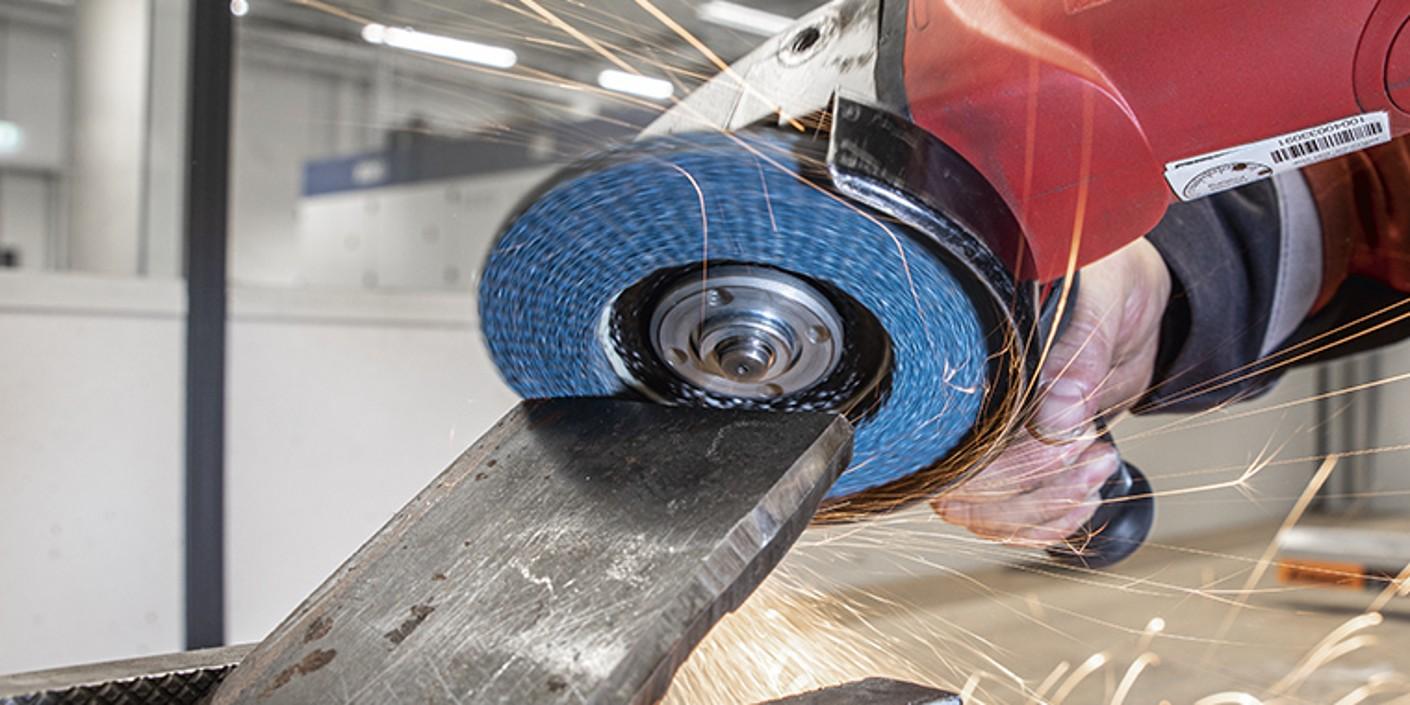
When it comes to removing burrs from flat edges or during finishing, your first line of defense is likely grinding wheels and brushes – tools you might already have in your toolbox. For smaller tasks, files are typically the easiest solution. But what about those curved surfaces? Grinding points or die grinder bits excel at tackling these areas.
Regardless of the method or tool you choose, the goal remains the same: eliminate excess material and create a smooth surface.
Ready, steady, brush!
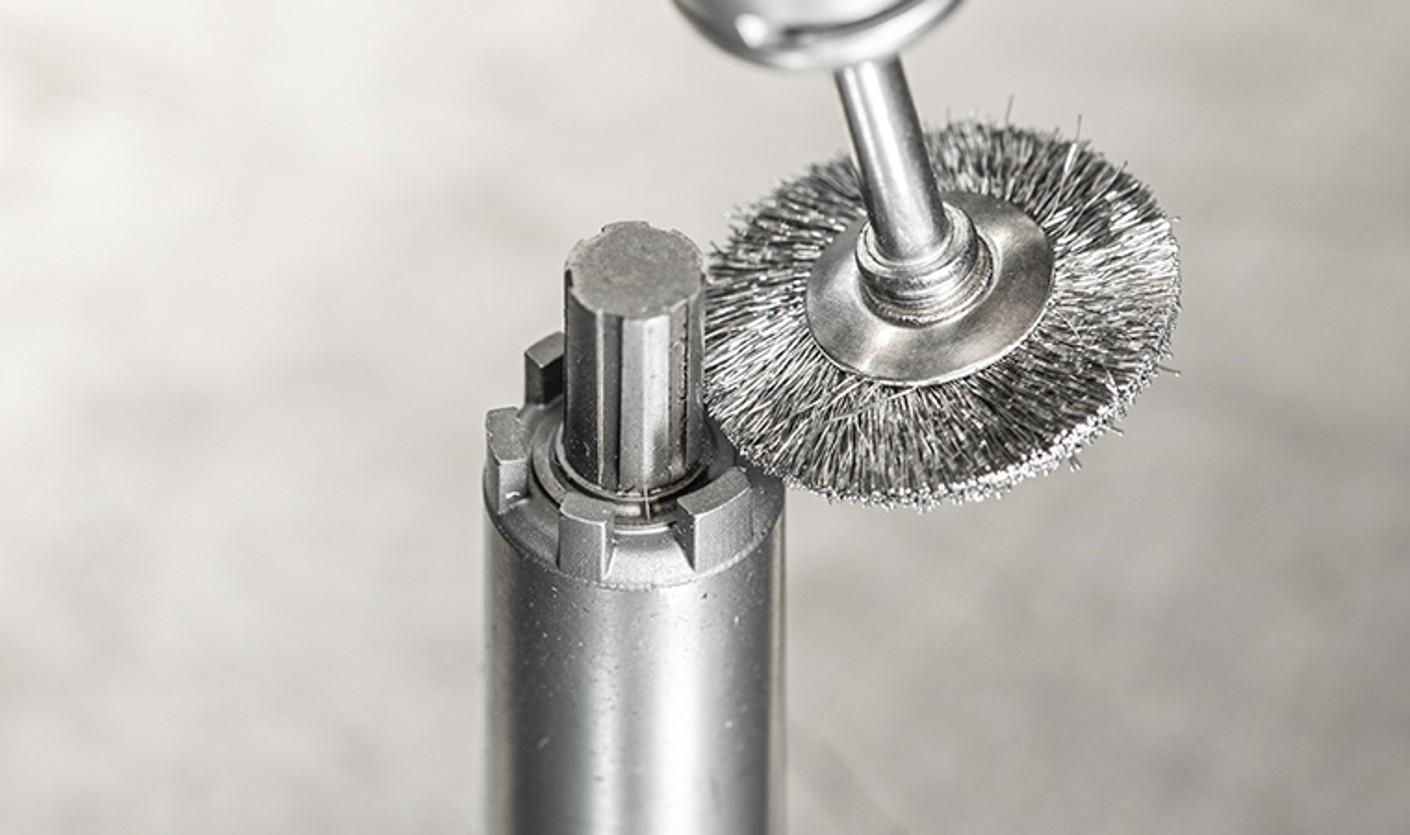
Alternatively, you could also go for brush deburring. This method often uses an aqueous or oil-based emulsion additive or cooling lubricant and brushes off the unwanted burr. Dry brush deburring is rarely done in practice. A deburring brush’s abrasive filaments, threads and bristles are usually corrugated. They are made of polyamide, for example, which embeds silicon carbide (SiC) abrasive grit. Aluminium oxide or diamond grit (grit sizes from 40 to 8000 mesh) are widespread.
Tip: When removing primary burrs, we recommend using deburring brushes with comparatively rigid and straight bristles. For secondary burrs, brushes with angled bristles – angled against the grain – are better suited.
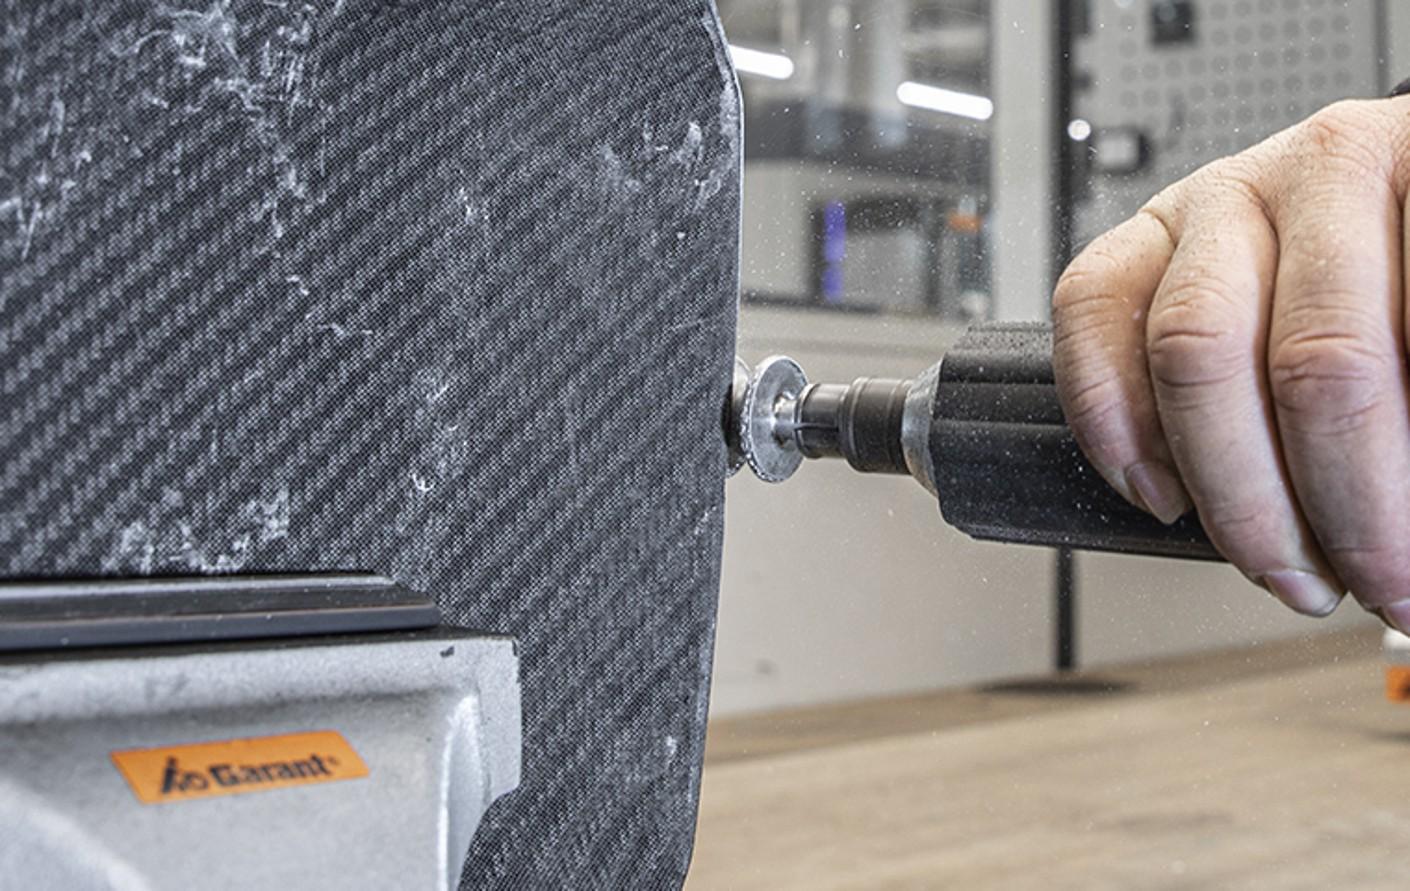
Different rules for plastic – fiber-reinforced and classic
If your workshop routine includes deburring polymers or plastic after injection molding, you’ll need a range of tools on hand that allow for gentle but complete deburring of softer material. Brush, file, countersink bits, grinding disc, mill or tools with heat tech for thermal deburring – here, too, size and shape of the processed workpiece determine what tools are best. To debur small CRP and GRP components, for example, galvanically bonded diamond grinding points serve especially well. Just like when you’re doing grinding work, make sure your tools have large flutes between the diamond grit to ensure material is removed cleanly.
You can feel the quality
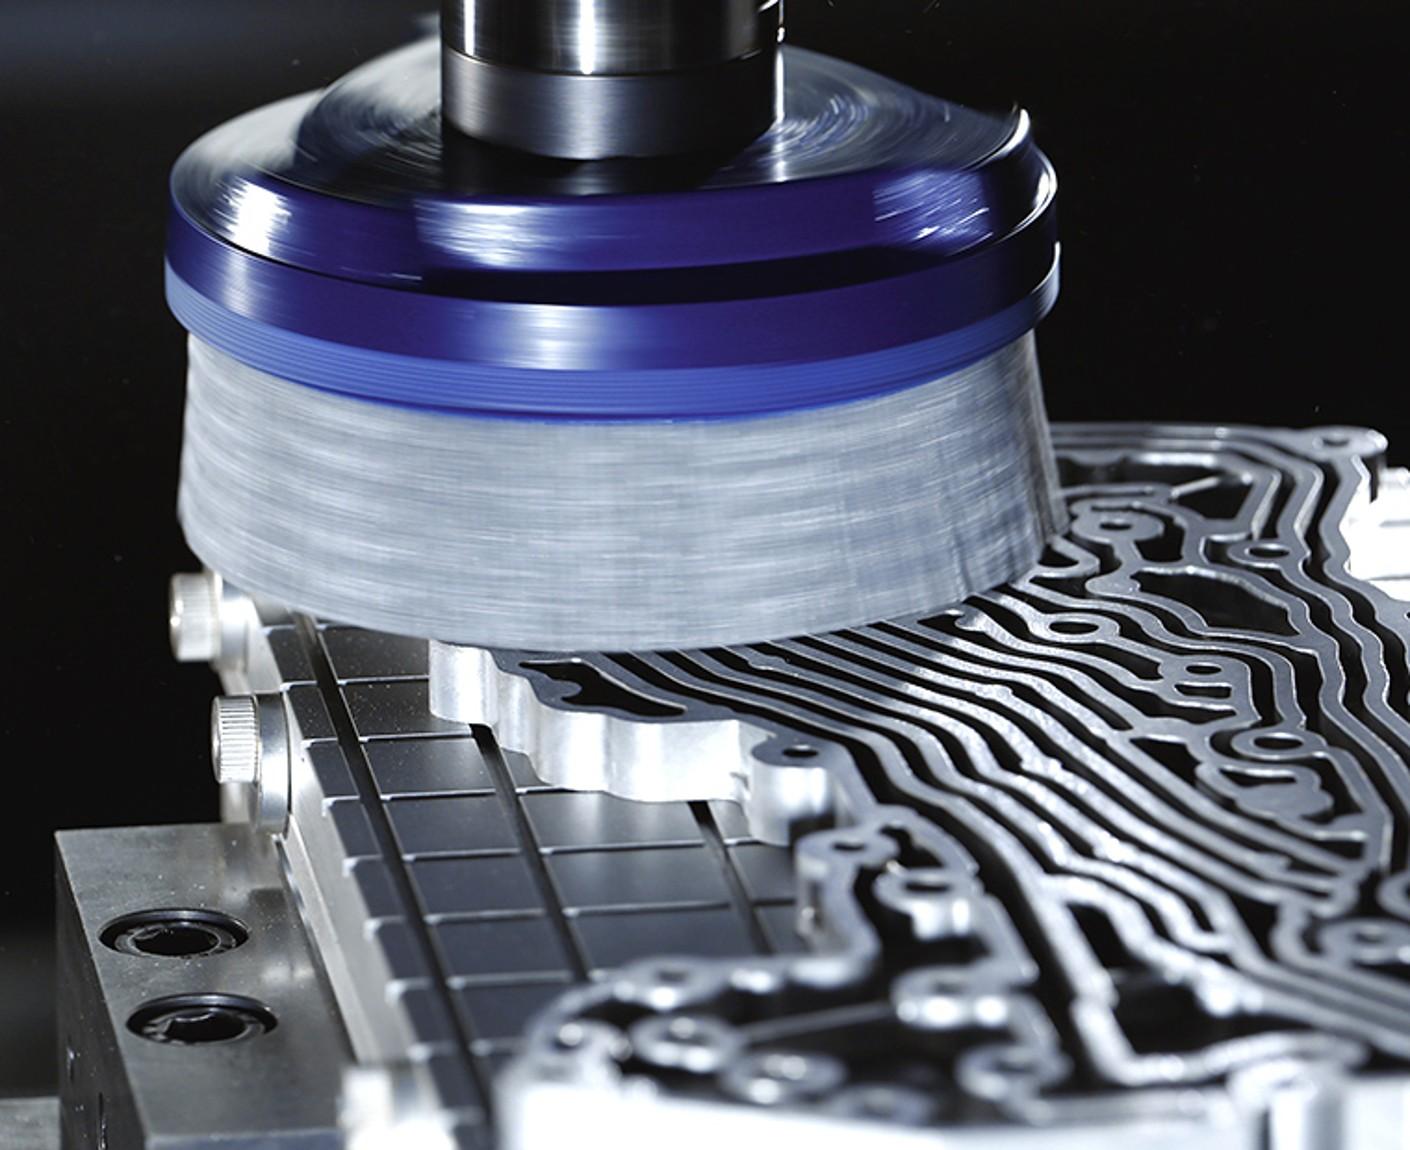
Quantity is key – no less true for choosing a deburring method than anywhere else. Recurrent deburring of large batches or entire production runs at industrial scale usually occurs through some sort of automated process immediately after production of the parts. The machines used often feature quick-change fixtures for smooth retooling. If your workshop includes an automated deburring machine, you’ll often have the luxury of being able to freely choose the tool to use. Otherwise, you’ll be familiar with the satisfaction you get when checking a part after deburring confirms A++ quality. It’s one of the reasons deburring is still done in many sectors in person, by manually operating machines – visual quality checks are fully incorporated. Note that you should always wear your personal protective equipment when deburring manually.
Note: Deburring by hand requires utmost concentration and skill, alongside solid experience with the material in question. Proceed with caution to avoid removing too much material.

Need top-quality deburring?
Do you think there’s scope for improving your products’ quality? Our experts will happily review your options and help you find the best tools for perfect deburring.